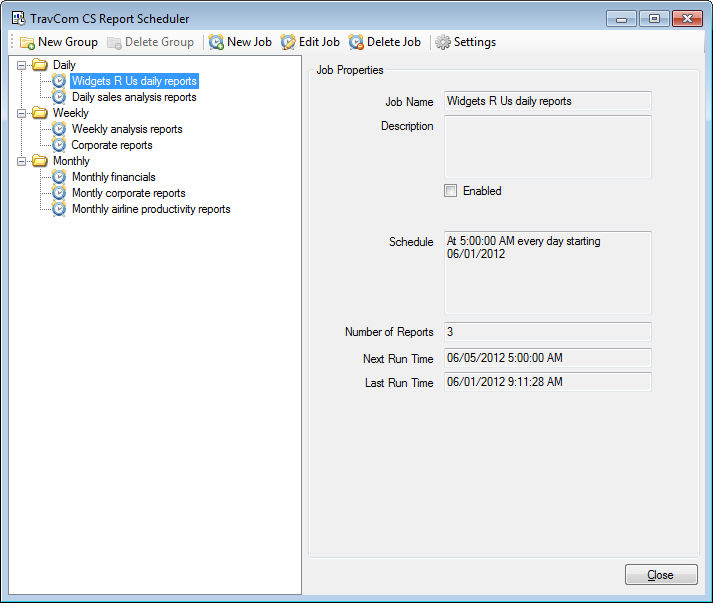
To get started automatically running reports you first need to create jobs. Run the TravCom Report Scheduler program by clicking on it from your Windows Desktop or from the Start Menu. You will then see the main program interface as shown here:
The three main elements of the program interface are:
Toolbar - The toolbar contains buttons for creating groups, deleting groups, creating jobs, editing jobs, deleting jobs, or setting global options.
Groups and Job Listing - The left side of the interface contains a listing of all groups and jobs that have been created. Selecting a job will display the properties for the job in the Job Properties frame to the right. Right-clicking on a group or a job will display a drop down menu containing options that you can perform on the group or job, such as creating a new group/job, editing a job, renaming a group/job, deleting a group/job, or manually executing a job.
Job Properties - The right side of the interface contains a list of properties for the currently selected job. These include properties such as the name and description of the job, the defined schedule for the job, and the next and last run time for the job.
Begin with identifying the types of jobs you plan on running automatically and how often they are to run. Determine what reports will be executed for each job and where these reports are to be output. Then determine a good organization of these jobs so that you can begin categorizing the jobs into groups.